

Our Work
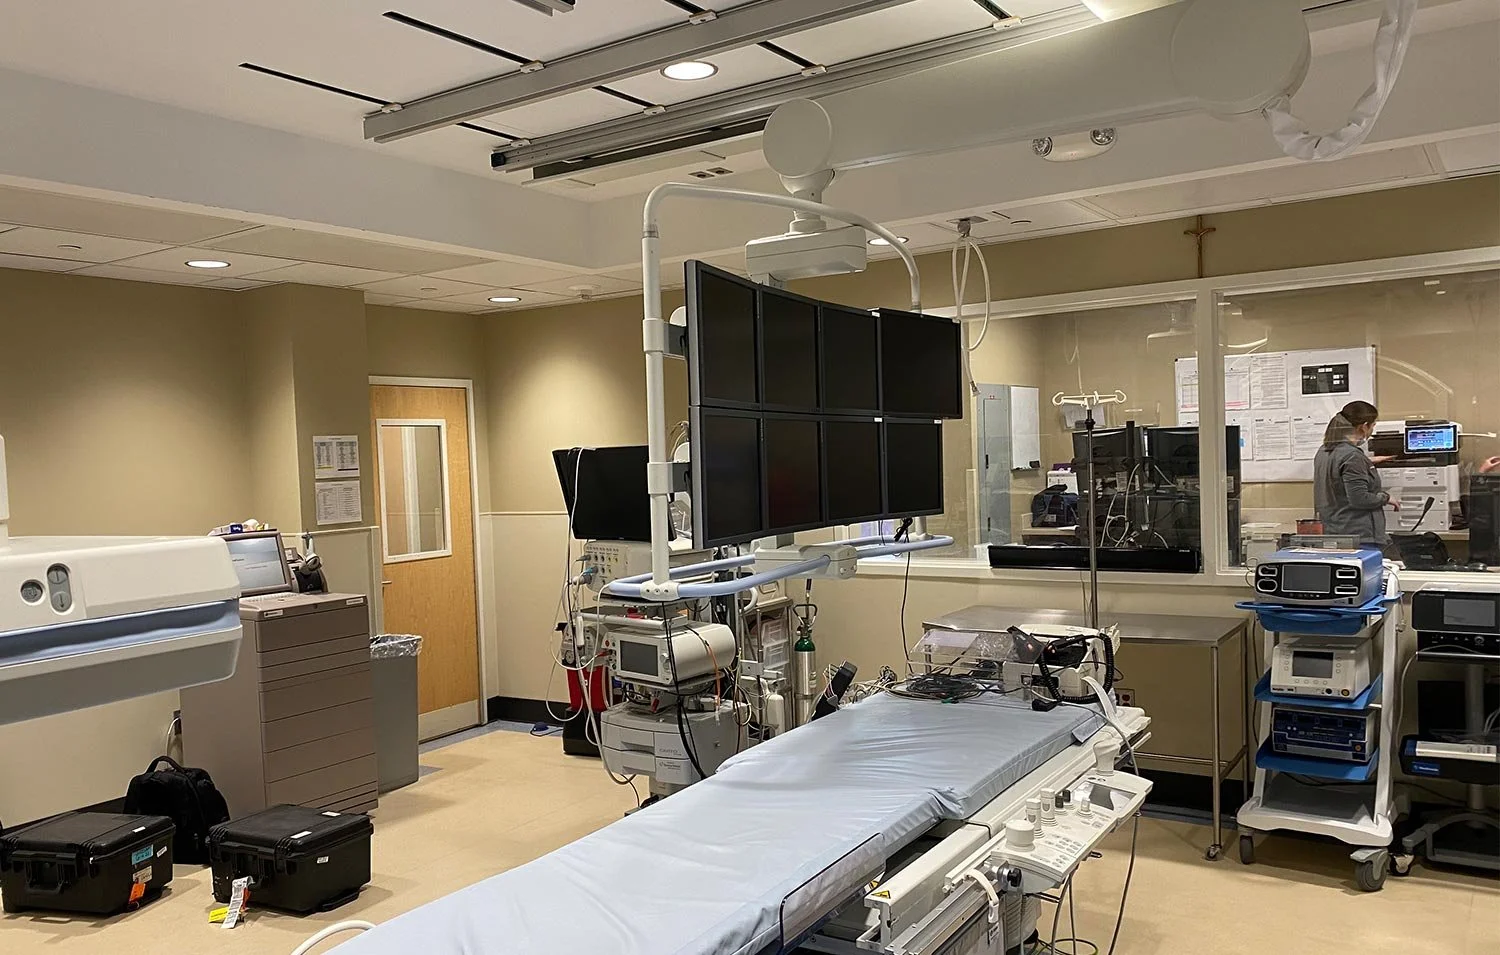
Before C-View Installation

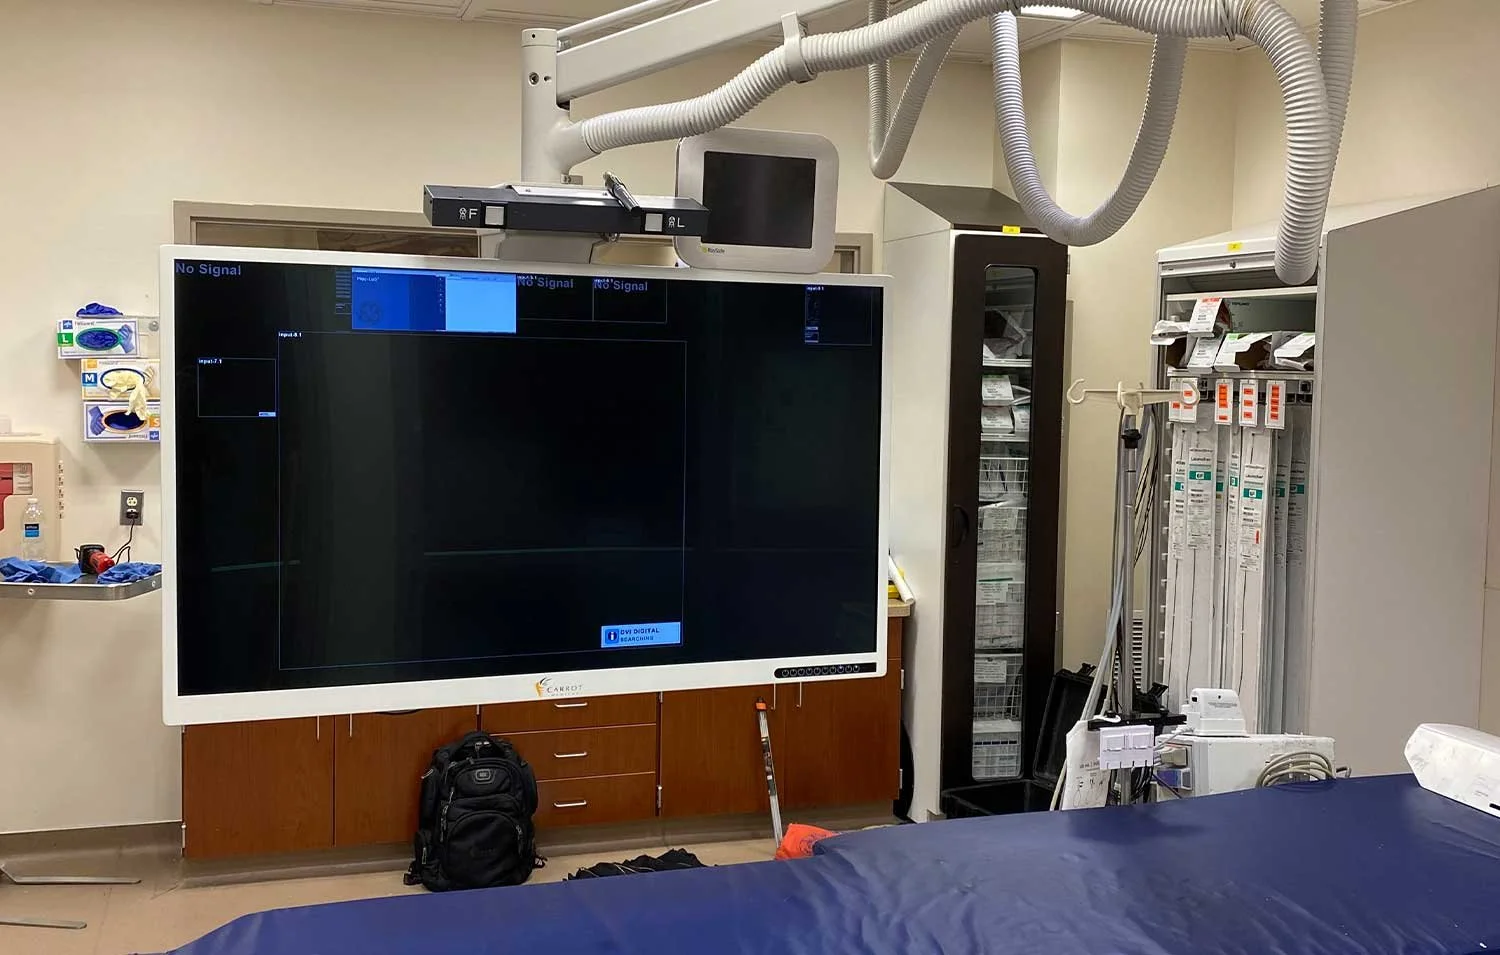
After C-View Installation

Before C-View Installation

After C-View Installation

Before C-View Installation

After C-View Installation

Before C-View Installation

After C-View Installation

Before C-View Installation

After C-View Installation

C-View Installation

Equipment Boom

Renaissance Tablet in Control Room

C-View Cabinet

C-View Installation

C-View Installation

C-View Installation

C-View Accessories

C-View Cabinet + Cable Management

C-View Installation

Back of C-View Display
C-View Installation

C-View Installation

C-View Installation

Before and After Cable Management

Before and After Cable Management

Before and After Cable Management

Before and After Cable Management